eTemperature is compatible with the range of Thermocron temperature and humidity loggers. Here are the steps to configure one with eTemperature.
Step 1: Plug in the reader
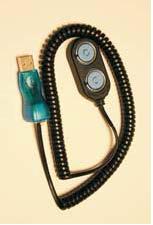
The reader is the cable that was supplied in the kit. It will typically be a USB device at one end and either a double blue circle or a 45° angled connector at the other.
Step 2: Run eTemperature
Run eTemperature by double clicking on its icon or by finding it within the Start Menu.
You should see “Waiting” in the status area.
Step 3: Plug the logger into the reader
The logger is the small “watch battery” looking device that may be on a plastic holder. The logger will “click” into place.
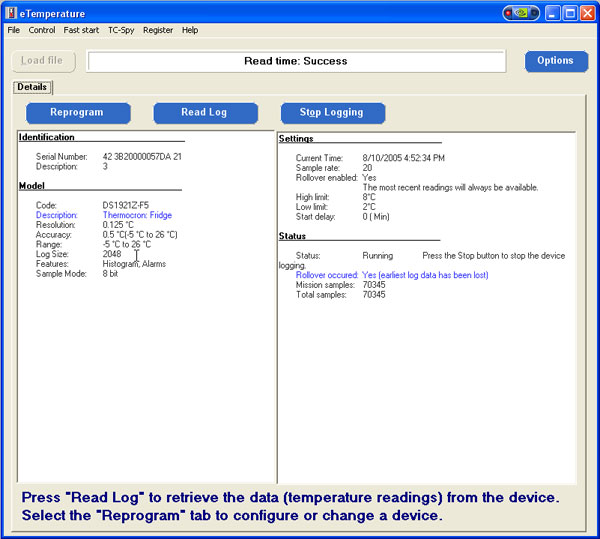
The details tab should now appear with the following options available.
The status section (right hand box, lower section) displays if the unit is running and how many (mission) samples have been taken.
Step 4: Press "Reprogram"
The following screen will appear…
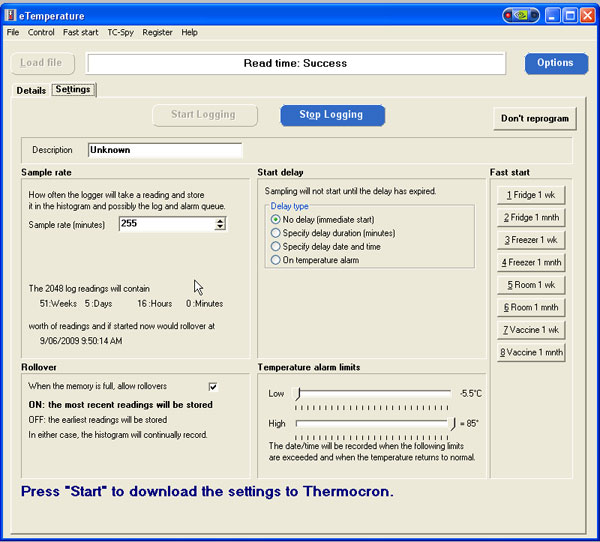
Step 5: Enter the description
The description should include the company name and item being monitored.
Step 6: Set the sample rate
The sample rate is typically 5 to 30 minutes.
Step 7: Set the alarm limits
For refrigerated items: Low = 0°C to High = 5°C
For vaccines: Low = 2°C to High = 8°C
For frozen items: Low = -20°C to High = -12°C
For room temperature: Low = 20°C High = 25°C
(These values are suggestions only. Values may vary depending upon country and contents.)
Step 8: Optional- Press "Stop logging"
This is only necessary if the unit is running.
Step 9: Press "Start Logging"
If the “Start Logging” button is not enabled but the “Stop Logging” is, then press it first.