USING eTEMPERATURE
Downloading results
This page assumes you have eTemperature installed and running, and a Reader plugged into the computer, and your Thermochron logger has data on it.
Plug the Thermochron logger into the reader
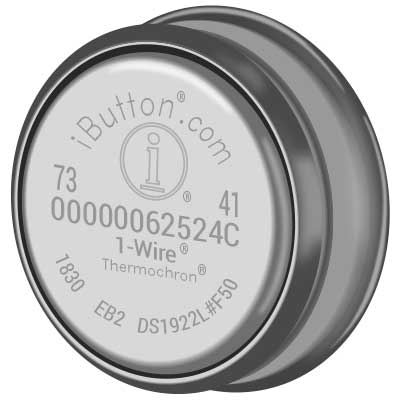
Thermochron loggers look a bit like a battery. It may be in a fob or card.
The logger will click into place in the Reader. It doesn’t matter which circle you use.

To download the data, click the “Read” button.
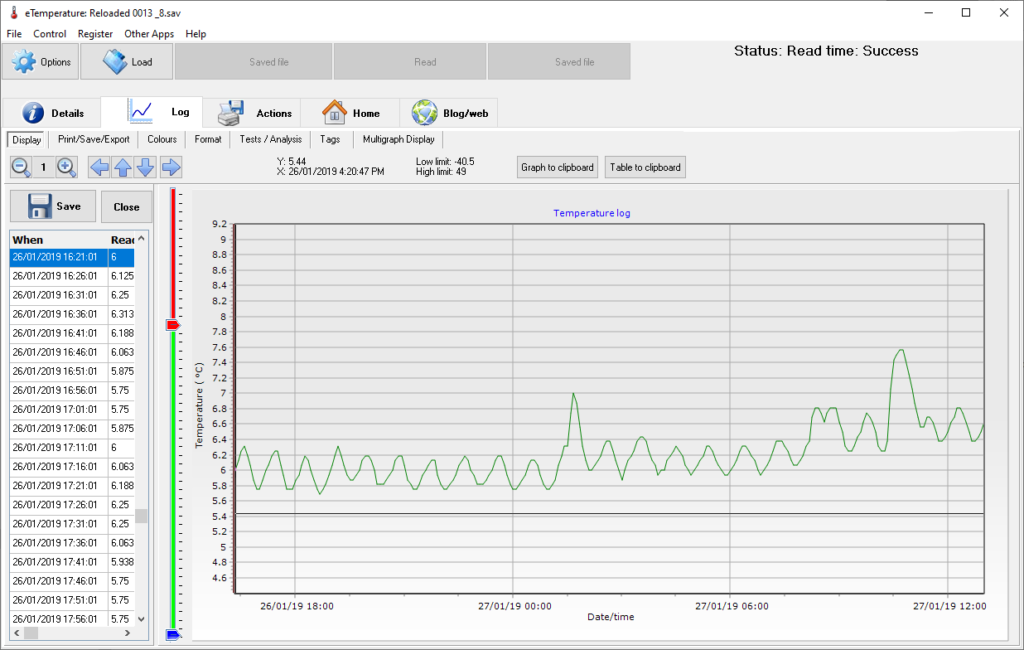
The logger is the small “watch battery” looking device that may be on a plastic holder. The logger will “click” into place The details tab should now appear with the following options available:
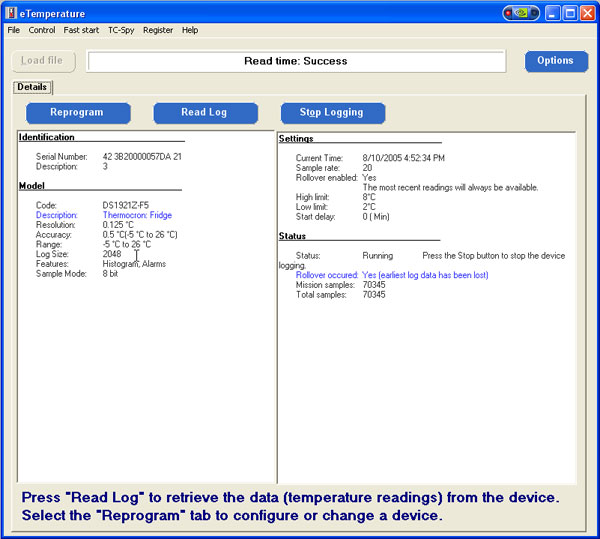
The status section (right hand box, lower section) displays if the unit is running and how many (mission) samples have been taken.
Step 4: Download the results
Press the “Read Log” button.
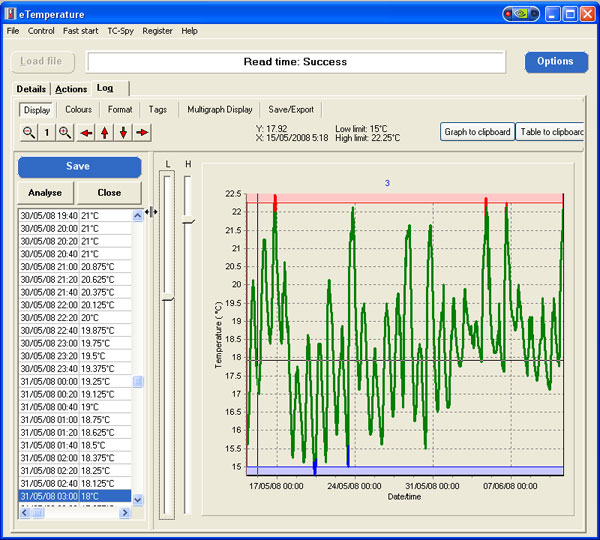
Step 5: (Optional) Save the results
Press the “Save” button. Not required if automatic saving has been configured.
Step 6: Print the results
Either Press Ctrl + P, or select the Actions tab
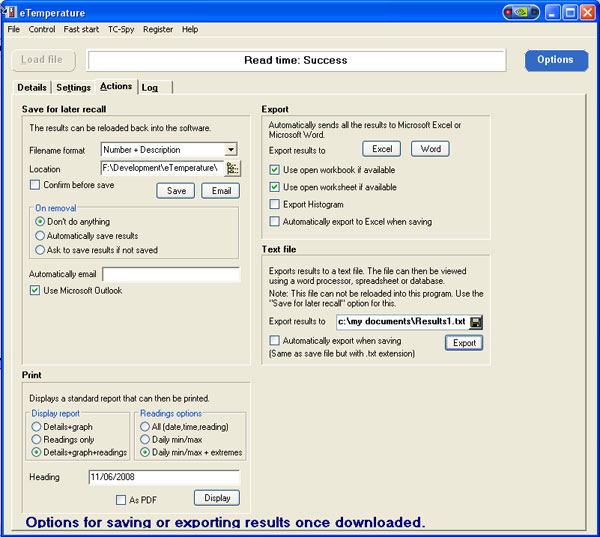
Select the required format in the “Print” section Press “Display”.
Now that you have downloaded these results, you may also want to analyse the results in eTemperature.
