USING eTEMPERATURE
Installing eTemperature
You must be logged in as administrator to install the software.
Make sure the USB reader is NOT PLUGGED IN while doing this installation.
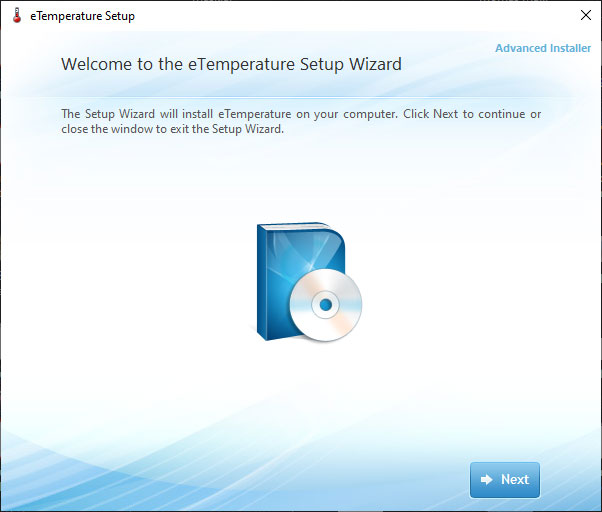
Review the agreement.
Select “I accept the terms in the license agreement” and press “Next”.
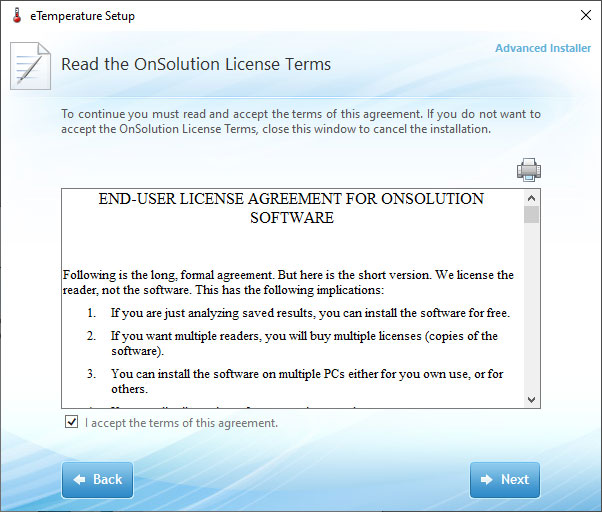
In most cases you can just accept the default installation location and simply press the “Next” button.
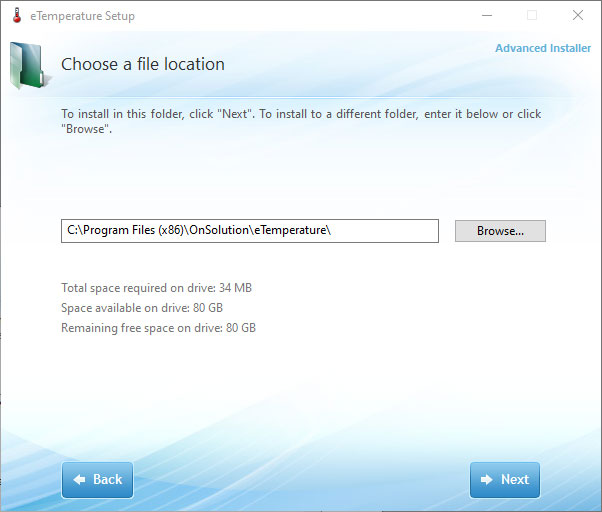
Press the “Next” button to begin the installation.
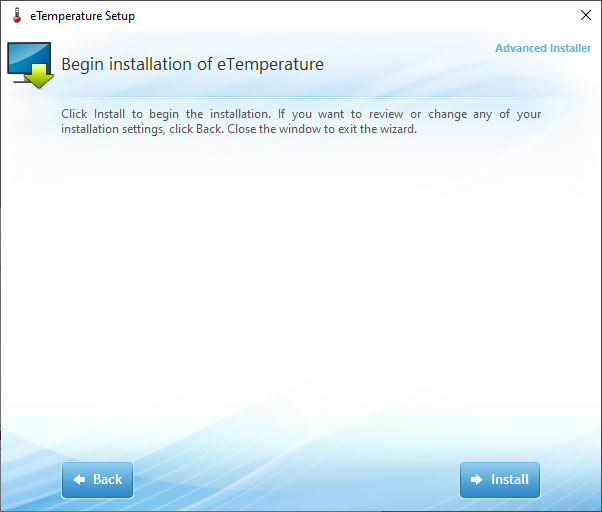
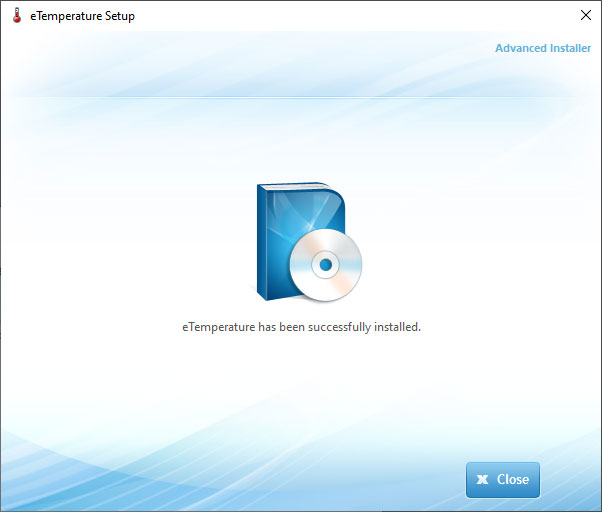
When the installation is complete, press the “Close” button to complete the process.
Installing the Thermochron reader drivers
Drivers are small software packages that allow devices to talk to the computer.
You can download the right driver for your computer from this site.
To install the driver, right-click on the downloaded file and choose “Install”.
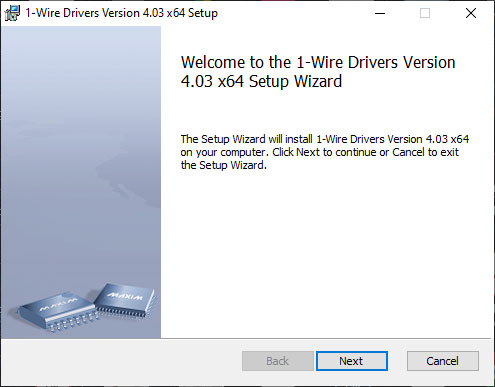
On this first screen, simply hit “Next” to begin the process.
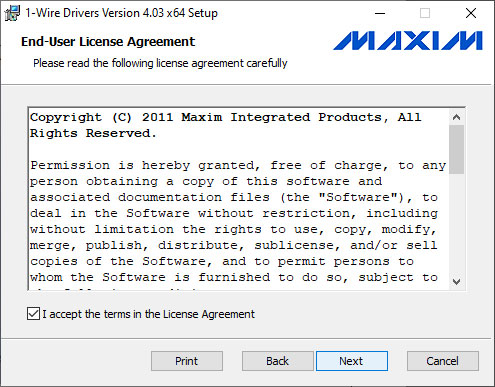
Review the agreement.
Select “I accept the terms in the license agreement” and press “Next”.
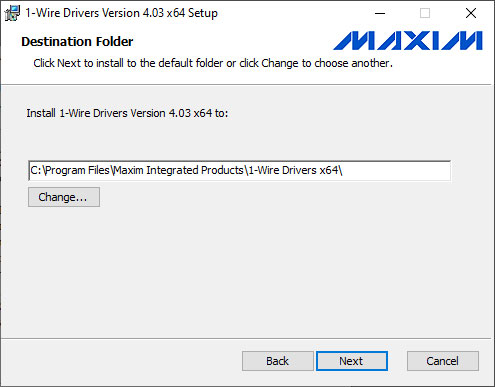
In most cases you can just accept the default installation location and simply press the “Next” button.
Make sure the Reader is unplugged. Then click the “Install” button to begin the installation.
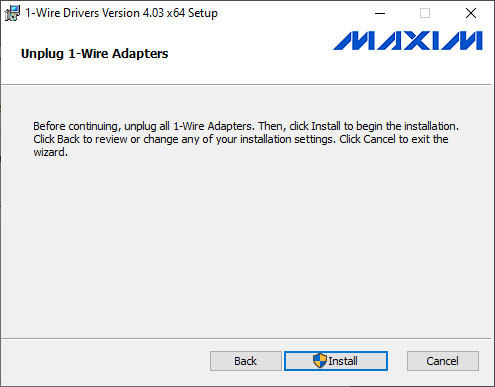
When the installation ins complete, you can click “Finish” to close the window.
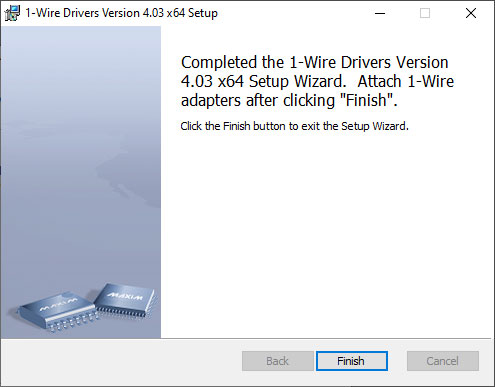
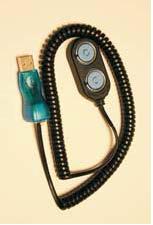
Plug in the Reader
You can now insert the Reader in the USB port on your computer. The computer will use the new drivers to communicate with the device.
Enter the unlock code
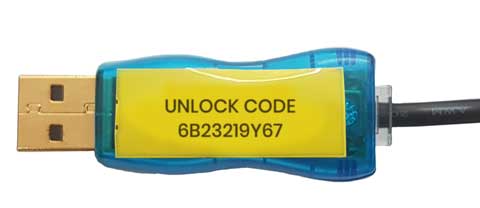
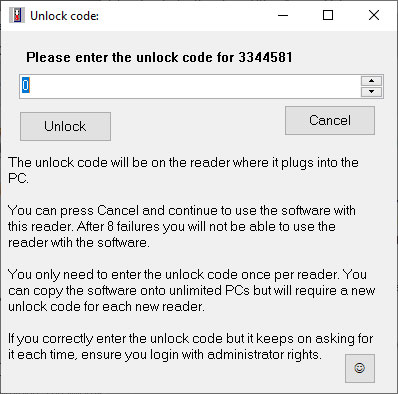
eTemperature is licensed per reader. It can be freely installed onto multiple PCs but when you plug in a reader for the first time you may be asked to enter an unlock code for the reader. If so, the following screen will appear.
For networked PCs it is recommended that you press NO.

eTemperature is licensed per reader. It can be freely installed onto multiple PCs but when you plug in a reader for the first time you may be asked to enter an unlock code for the reader. If so, the following screen will appear.
For networked PCs it is recommended that you press NO.
Registering eTemperature
After a short time the Register screen will appear.
Press the “Register Now” button.
Fields in yellow are mandatory. Complete at least these fields and press the “Register Now” button.
eTemperature will attempt to send an email from your computer. You may see a message notifying you of this. If so, allow the email to be sent.
